During the global pandemic of 2020, many churches found themselves looking online to reach their congregations and continue to worship together in some form. There were several different kinds of responses. Some churches pre-recorded part or all of their services and shared them online. Others moved their services outdoors. Still others pursued streaming services live.
I was serving with a small church in southern California at the time. We were very small, numbering around two-to-three dozen, so there wasn’t a very large pool of prospective volunteers to train to run the livestream. And the budget for equipment was pretty minimal. Still, we were able to setup a fairly simple, easy-to-manage livestream to reach our congregation.
The setup below describes what our leadership team developed. It is a simple, one-person setup that, when it’s all setup, requires a very minimal amount of effort to start, stop, and run week-to-week. It’s also a relatively flexible, “budget friendly” setup that can be built out as the needs change, assuming you already have a decent computer and soundboard.
The Equipment You Need
First, you’ll need a decent computer. For the computer, I would recommend a quad-core processor and 16gb ram running a current operating system. For a PC, a lower-end gaming desktop or laptop will be fine. For Mac, an M1 Macbook Air is probably fine. If you plan to start editing video, however, you’ll need at least a decent graphics card and probably more ram.
Second, you’ll also need a decent soundboard. With this setup, analog is totally fine. In my opinion, the three main reasons to invest in a digital board are 1) if you plan to mix and record every channel separately, 2) if you’re sharing the board with other events or groups (saving scenes), and 3) you want to keep pace with the industry (which is moving toward digital boards).
You will need at least three more pieces of equipment as well. First, you will need a camera to capture the video. Second, you will need a video capture card, which takes the signal from the camera and send it into the computer. Third, you will need an audio interface, which takes an audio signal from the soundboard and sends it into the computer.
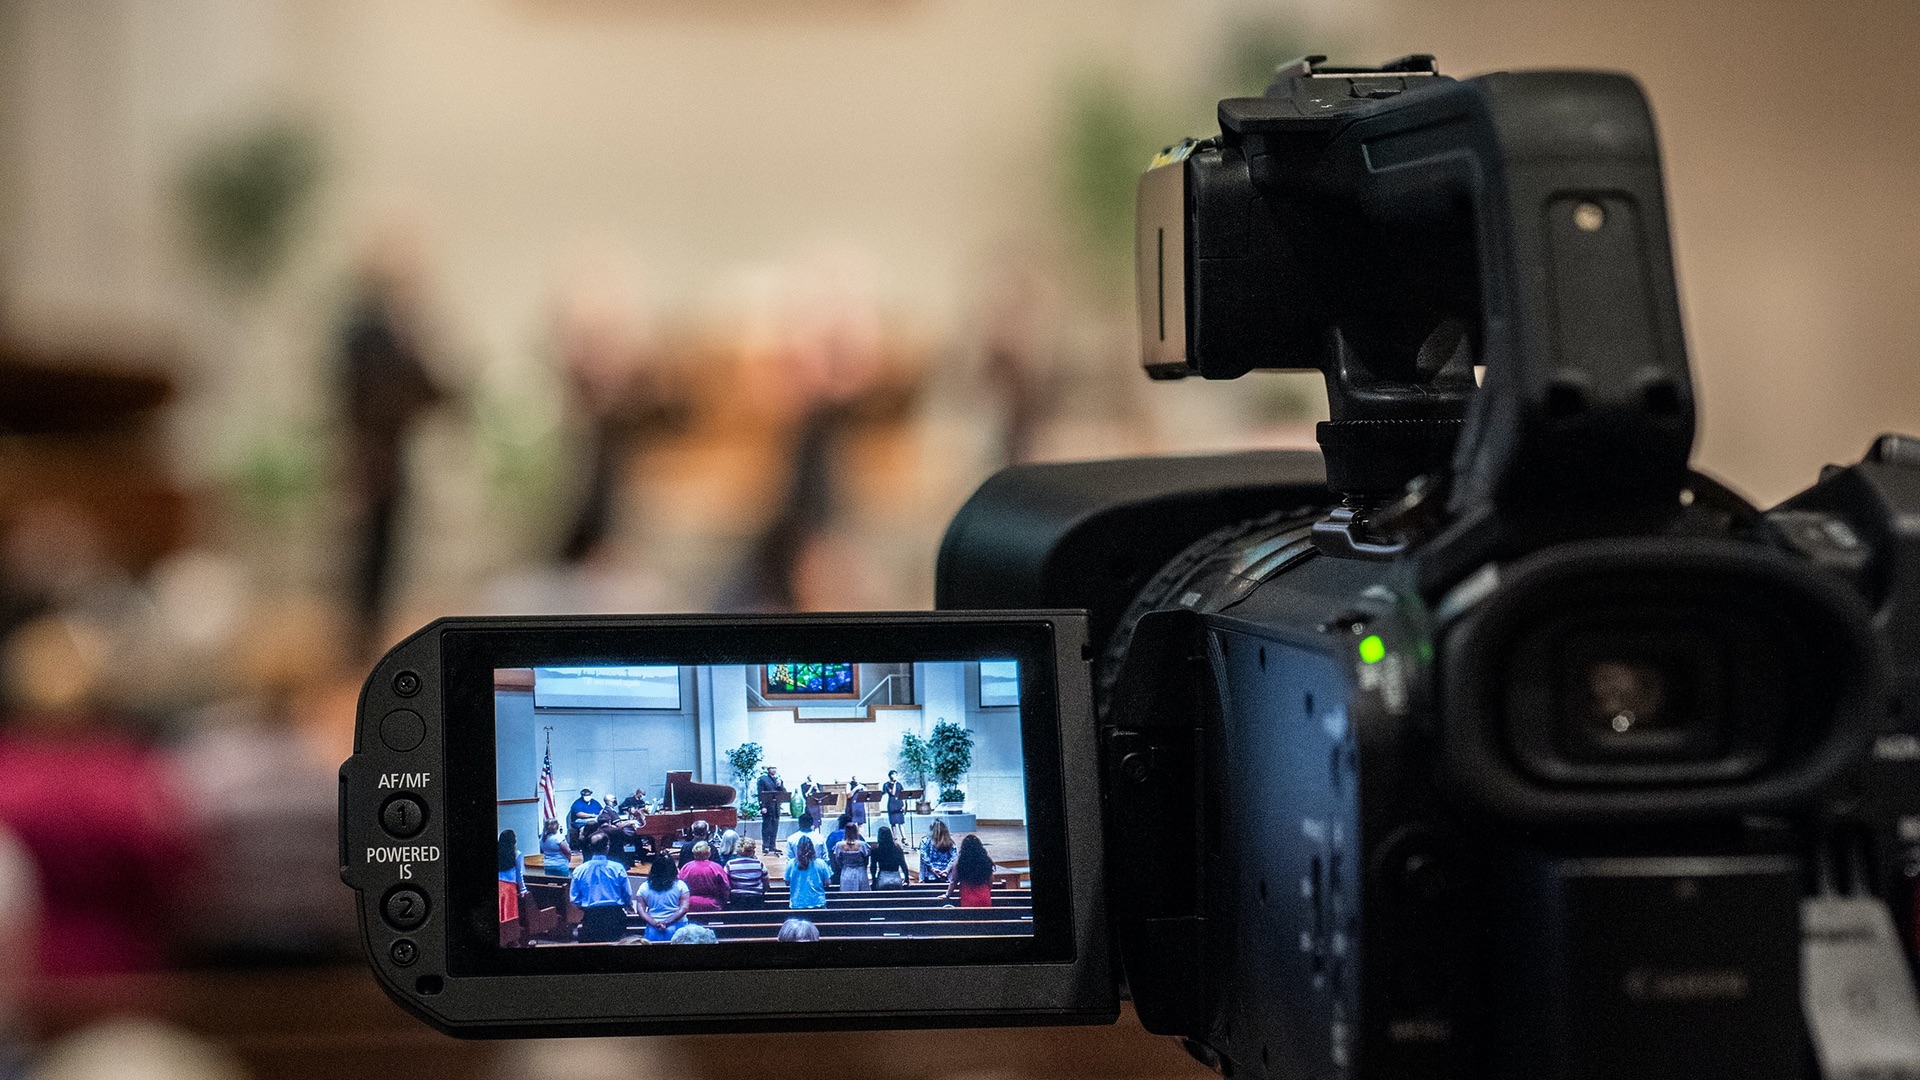
Choosing a Video Camera
Probably the hardest decision for us was the video camera. The camera needs to output a “clean signal” (no overlays) via HDMI. You’ll probably want the ability to zoom in or out. I would recommend Full HD as a minimum resolution, although 4k is standard now. The most budget-friendly option is a traditional camcorder, something like the Sony HDR-CX405 HD Handycam.
If you have the budget, I would suggest considering an entry-level mirrorless camera. The picture quality will be significantly better and they’re nearly as easy to use. However, they can be more intimidating for volunteers, which might be problematic. I personally have experience with the Panasonic Lumix G7 and G85. They are great cameras and well-worth the investment.
To buy new or used is a tough choice. You can get a good deal on used equipment but you can also easily get hoodwinked. Personally, I prefer to buy new and make sure it’s returnable. That way, if the setup doesn’t work out for whatever reason, I can return it. I usually get the protection plan, too, so if something tragic happens, a replacement will be covered.
Choosing a Capture Card
A video capture card takes the video output from the camera and sends it to the computer. Any decent video capture card will do, but not all capture cards are the same. Be sure to choose one that matches your desired resolution and works with your computer. I have experience with the Elgato Cam Link 4k and the Magewell USB Capture HDMI Gen 2. The Elgato works with my MacBook but doesn’t support all systems. The Magewell seemed to work with anything.
Choosing an Audio Interface
An audio interface takes the audio output from the soundboard and sends it to the computer. You will want something USB and that works with your computer. I am of the opinion that there is some difference in sound quality even among entry level interfaces. I would plan to spend around $100. I have experience with the Zoom, Presonus, and Focusrite interfaces. I set my church up with the Zoom U-22. I personally have the 3rd Gen Focusrite Scarlett Solo.
Making the Connections
Here’s where things get tricky, because it depends on the gear you’ve selected. Keep in mind your cable runs to make sure you get long enough cables. And don’t buy the cheapest cables you find. Bad cables are a real headache and you’ll save a lot of time, energy, and money investing in decent cables from the start.
For the cameras I’ve recommended above, you’ll need an HDMI micro to HDMI cable. You can also us an HDMI micro to standard adapter with a standard HDMI cable. I wouldn’t run HDMI anymore than around 50 feet. If you need to go further, you’ll need a Cat-5/6/7 HDMI extender. There’s a lot to choose from so be sure to check the resolution, etc. for your needs.
You’ll need a USB cable with the appropriate ends to connect the capture card to your computer. If you have the Elgato, it might plug directly into your computer. The Magewell our church bought came with a USB cable.
You’ll need another USB cable to connect the audio interface to your computer. Your audio interface probably comes with a USB cable, which probably also powers the interface from the computer. It’s probably long enough depending on where you place the interface.
You’ll need a cable to take the output from your soundboard/mixer to the audio interface. For the simplest setup, I would suggest using one pair of the Sub outputs on the soundboard. This will use XLR or 1/4 inch TRS/TS cables (check your board). In either case, you’ll want a Y-style cable, which combines the stereo signal into a single 1/4 TRS cable on the other end that plugs into the audio interface. (This setup runs a mono audio signal to the livestream.)
Putting the Pieces Together
Let’s trace the signal path. For video, the camera takes the video and sends the signal via HDMI to the capture card. The capture card sends video signal over USB to the computer. For audio, the soundboard sends the mixed audio signal over the 1/4 inch cable to the audio interface. The audio interface converts the analog audio signal to digital and sends it via USB to the computer.
You might be tempted here to plug everything in and give it a shot. But you’ll need to configure your computer and streaming solution to see and use the signals from the hardware. You might also want some software that makes running the livestream easier. I’ll plan to write that up soon in another post. If you have any questions, please feel free to reach out in the comments.
Discover more from Tim Northup
Subscribe to get the latest posts sent to your email.
